How to Make Homemade Awapuhi Hair Treatment in 5 Easy Steps
If you want silky soft hair, you needn’t look any further than your own garden. Well, if you learned how to grow shampoo ginger with our guide, that is.
Shampoo ginger, or awapuhi, makes an awesome all-natural skin and hair treatment. In fact, many of you have probably heard of awapuhi through Paul Mitchell’s awapuhi shampoo. This stuff retails for $16 a bottle and contains harsh sodium laureth sulfate. Personally, I’d much rather make my own organic awapuhi hair treatment for next to nothing. If you agree, follow the steps below to make a super easy, super healthy, and super effective homemade awapuhi hair treatment.
Materials Needed for Awapuhi Hair Treatment
- Awaphui flowers
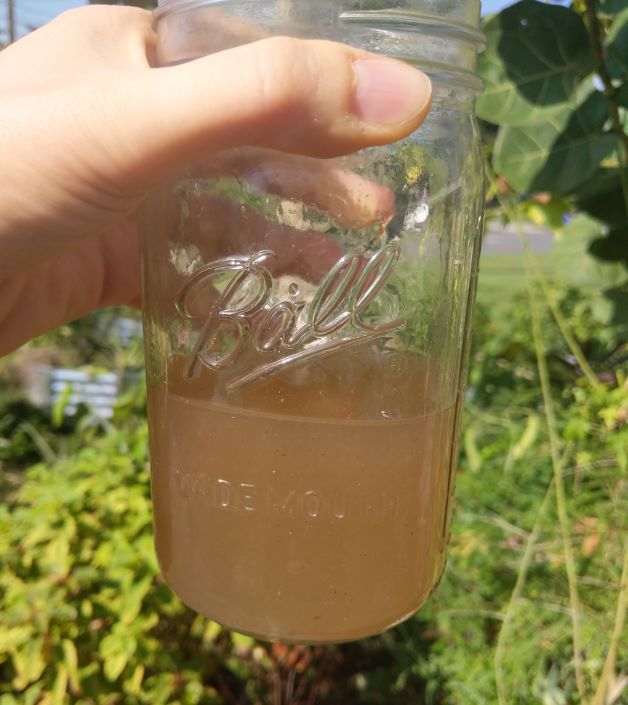
- 2 clean jars (I use quart mason jars, but as long as they’re clean, any decent-sized jars will do)
- Cheesecloth (grade 50 or lower is best — if the cheesecloth is too fine, the awapuhi will have a hard time straining through it)
- Rubber band
- Moringa or other carrier oil (optional)
How to Make Homemade Awapuhi Hair Treatment
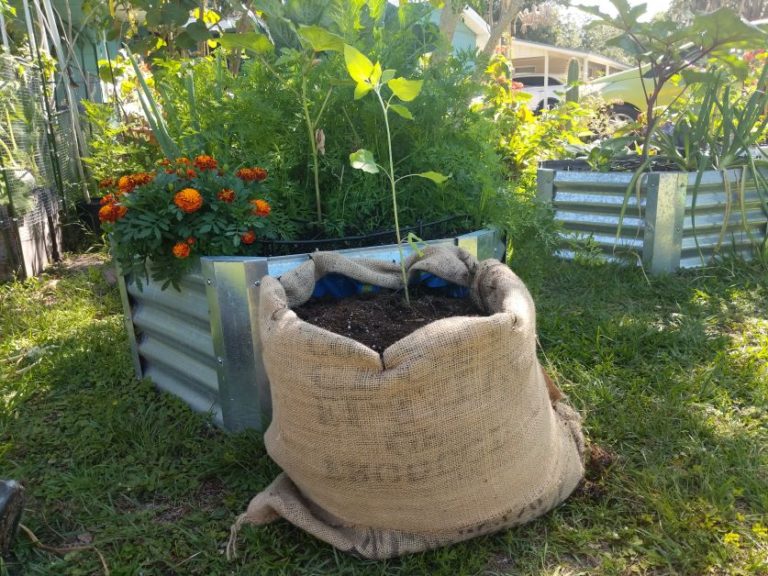
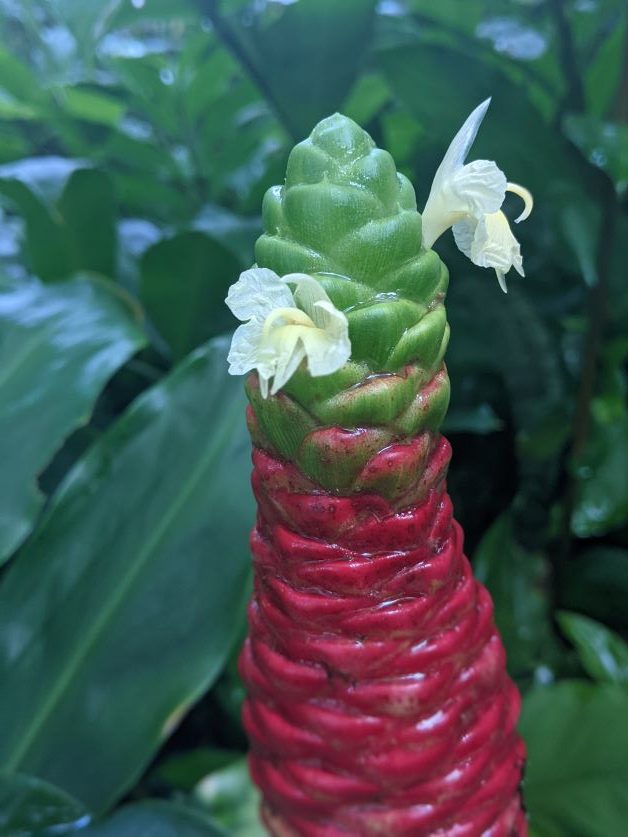
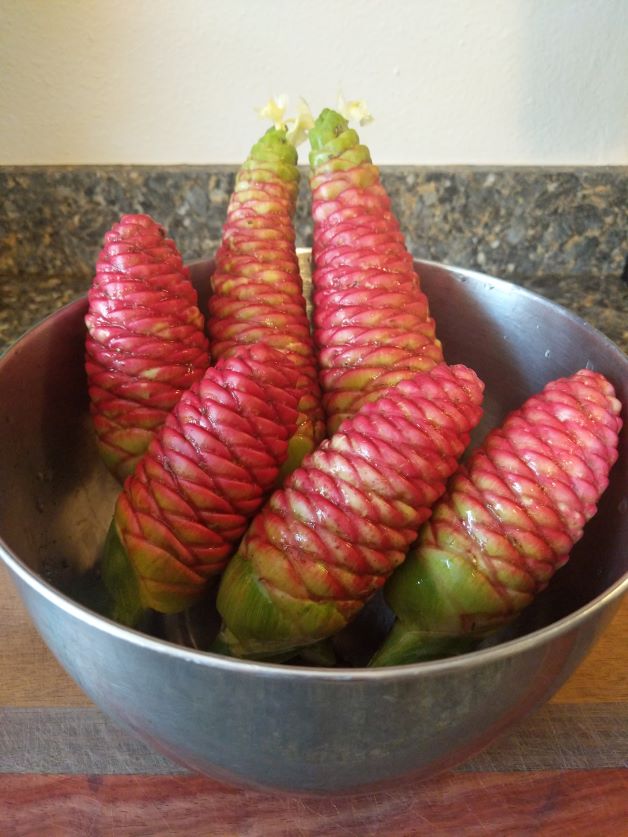
- Awapuhi is ready to harvest when it turns a bright pinkish-red color. The pinecone-shaped flower should be mostly red, but it’s ok if it’s still a little green towards the bottom. Take scissors and snip the pinecone off of the plant and put it in a bowl. Repeat until you have 5 or 6 pinecones.
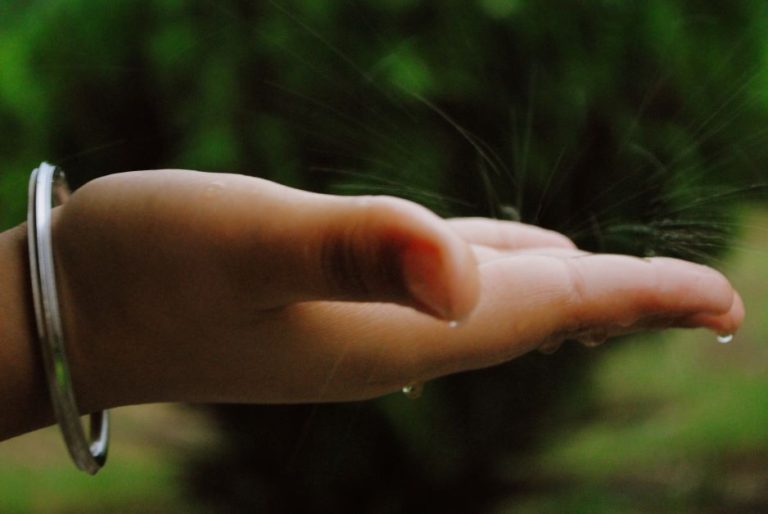
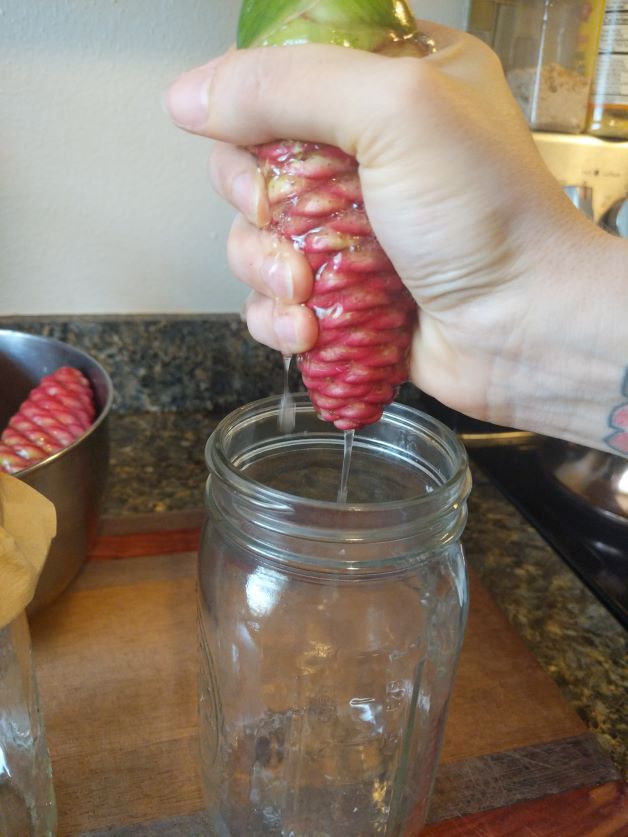
- One by one, squeeze the awapuhi flowers over a clean jar. Awapuhi liquid should come streaming out, and you’ll probably be surprised how much is in there.
- After you’ve squeezed all of the liquid out of your awapuhi, loosely drape your cheesecloth over the mouth of your second jar and attach it in place with the rubber band. It’s important to keep the cheesecloth loose to create a sort of divot. The divot will give the awapuhu time to drain into the jar – it’s very viscous and if the cheesecloth is too taut, the awapuhi will flow over the sides of the jar. Positioning the cheesecloth can be tricky and may take a few times to get it right.
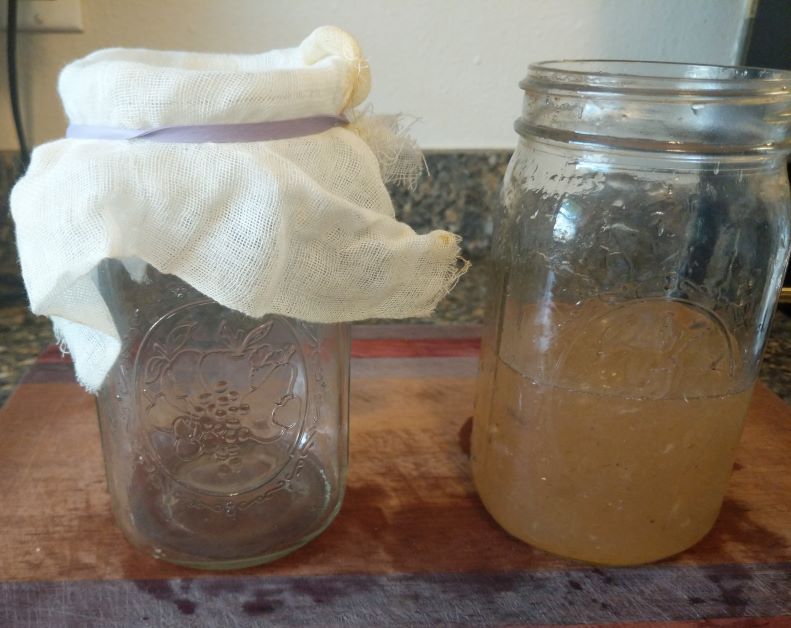
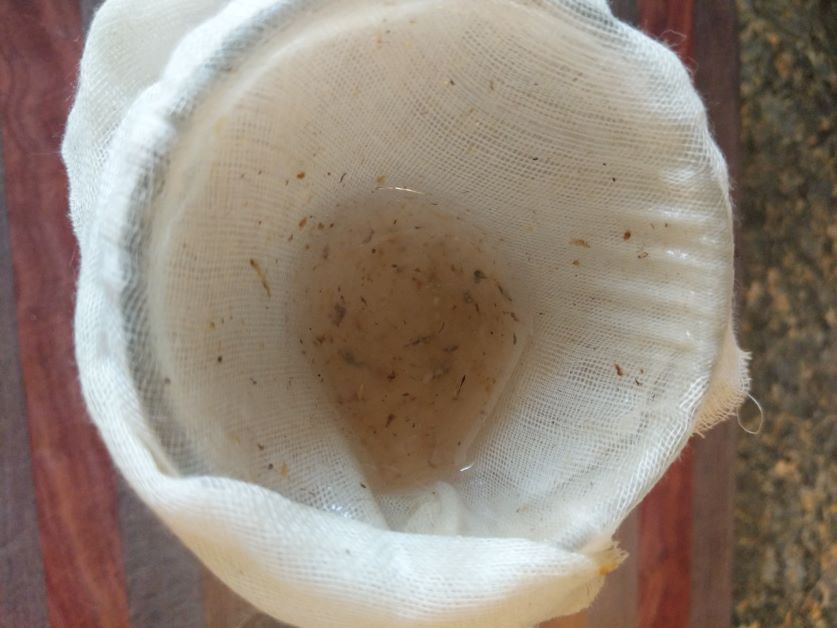
- Once your cheesecloth is in place, slowly pour in the awapuhi liquid. Because this stuff is so thick, you’ll have to pour it in batches. Pouring the awapuhi over the cheesecloth will help filter out dirt or other impurities.
- When your awapuhi liquid is filtered out, you can add a few drops of moringa oil if you’d like. Other popular oil options include avocado, grapeseed, and coconut. Oil is icing on the cake, though, so don’t worry if you don’t have any on hand. By itself, awapuhi is extremely nourishing and will leave your hair silky and soft.
Follow those 5 easy steps and you’ll have an all-natural, tropical-inspired hair treatment made from your very own awapuhi. To use the treatment, pour it into your hands and run it through your hair. This is a good time to give yourself a little scalp massage, too – massaging your scalp will produce natural oils that also soften your hair. Leave the treatment in your hair for at least 15 minutes but the longer, the better. When you’re ready, rinse it out with warm water and style as desired.