Kabocha – The Best Squash to Grow in Florida
What is Kabocha Squash?
Kabocha squash, or Japanese pumpkin, is a winter squash and a member of the Cucurbita maxima family. Contrary to its name, the Japanese pumpkin is not actually Japanese. In reality, Portuguese explorers brought the kabocha into Asia and the Americas.
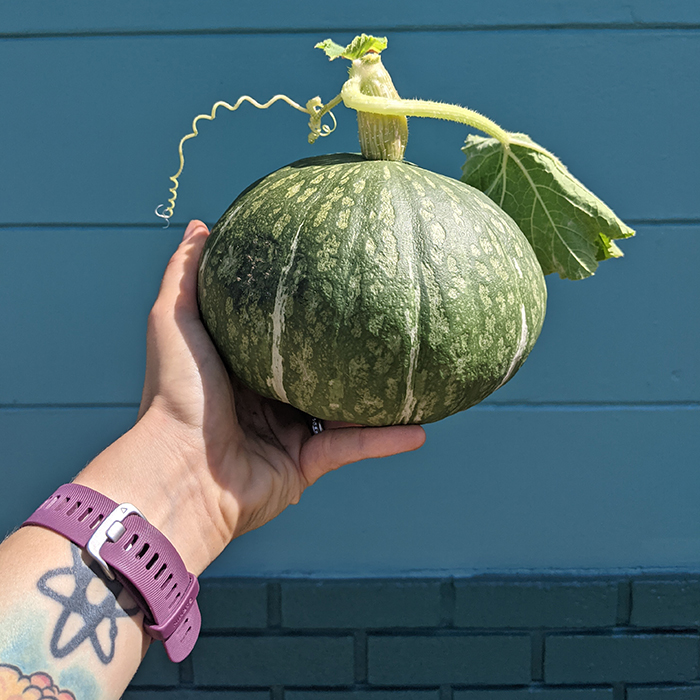
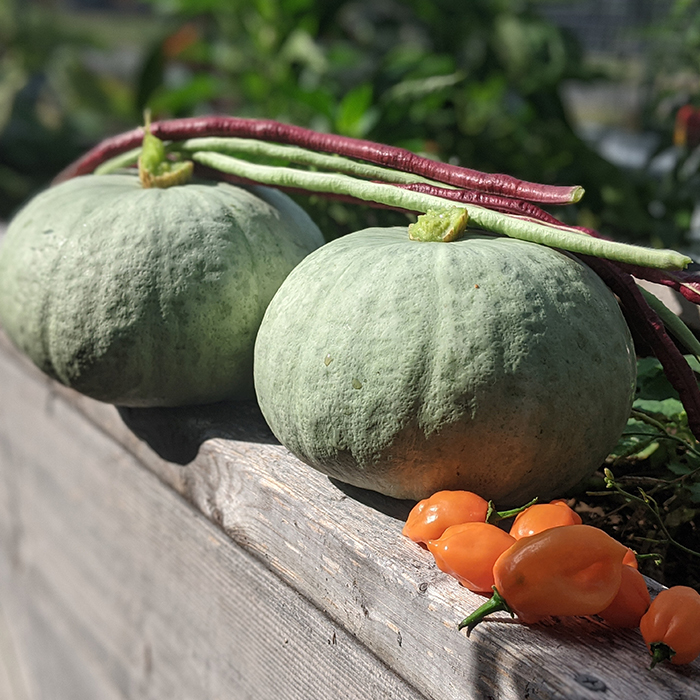
Kabocha is a small fruit, usually weighing 2 to 3lbs. It ranges in color from light green to dark and has bumpy, firm skin. Inside, the bright orange flesh is soft and flaky. To me, the kabocha is the sweetest squash variety.
Kabocha squash is packed with nutrients such as beta-carotene and vitamin C. One serving is only 30 calories.
As a subtropical gardener, I like to grow kabocha in place of more traditional squashes, like the butternut and acorn. This species tolerates Florida’s heat and humidity better than any other squash I’ve tried to grow (except maybe the Seminole pumpkin).
When to Plant Kabocha Squash
Kabocha is hardy from USDA zones 2-11. When you start your kabocha seeds depends on which part of the world you live in.
[table id=6 /]
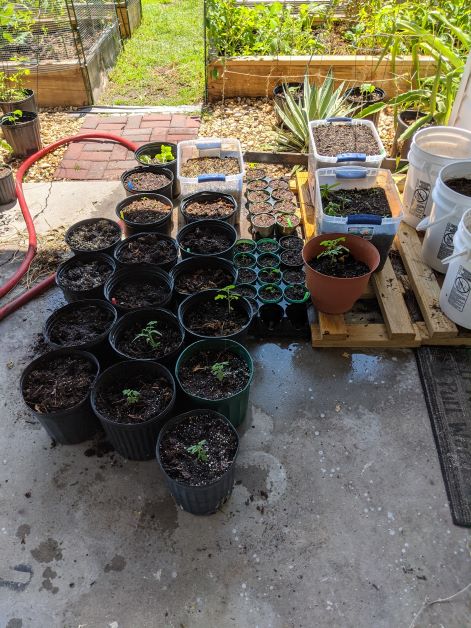
In my Central Florida garden, I start my seeds outside in the carport. Here, they’re able to get some sun but also have protection during the hottest parts of the day.
If you live in an area that experiences a true winter, you should start your seeds indoors about a month before the last frost. Kabocha isn’t cold-tolerant.
How to Plant Kabocha Squash Seeds
Squash doesn’t take well to transplanting, so use peat pots for your seedlings. Peat pots are biodegradable and allow you to pop the whole pot into the ground when you’re transplanting. This way, you won’t damage your squash’s delicate root system by removing it from its container.
- Fill your peat pots with high-quality potting mix
- Plant your kabocha seeds about 1/2 inch deep
- Water your seedlings, and keep them moist but not soggy
- Put your seedlings in a spot that gets sun but is protected from any extra-harsh rays
- Your seeds should germinate in 7-14 days
- Transplant your kabocha seedlings after they have 3 or 4 more leaves after the cotyledons
Cotyledons are the first two or three tiny leaves that form on your seedling. While it’s exciting to see this growth, the plant is still in its infancy. Wait until a few more leaves form before transplanting.
Kabocha Squash Growing Conditions
Temperature
Like other winter squash, kabocha isn’t frost-tolerant. They also don’t do well in extreme heat, either. 70-75F is ideal.
Sunlight
Kabocha squash needs 6-8 hours of sunshine a day.
Water
Keep the soil around your kabocha vine moist but not soggy. Give time in between watering to let the soil dry out a bit, and always do the touch test before giving your plant more water. Stick your finger into the soil and if it’s dry at the 2nd knuckle, it’s time to water.
Soil
Kabocha prefers well-draining, fertile soil with a pH between 6.1 and 7.0.
Spacing
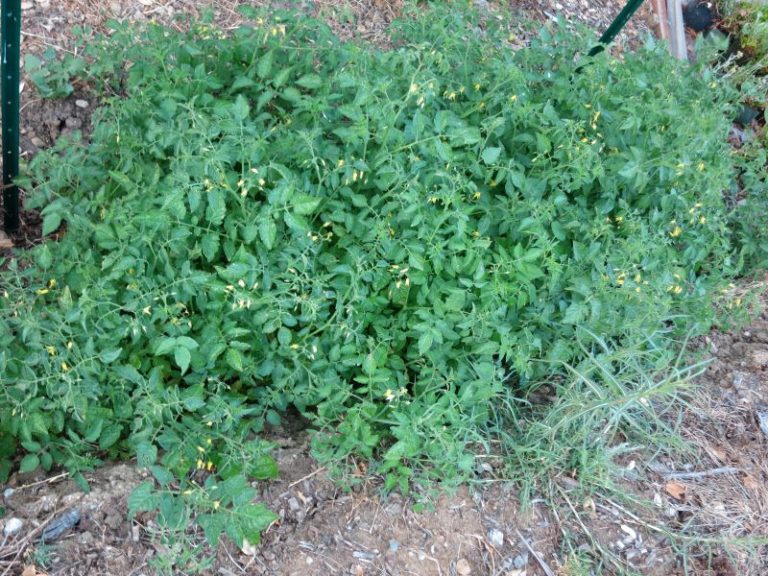
Kabocha squash is huge and can grow vines that are more than 20 feet long. If you’re planting more than 1 kabocha, give at least 2 feet of space between each plant and plan ahead so that you can direct each vine in an opposite direction.
Fertilizer
If you’re growing your kabocha in the ground, amend your soil with kitchen compost 2 weeks before transplanting. When your vine starts producing flowers, feed it organic 5-5-5 vegetable fertilizer and supplement with organic bone meal a few times during the growing season.
Growing Kabocha Squash in Containers
The soil in my part of Central Florida is sandy and nutrient deficient, so I grow most of my vegetables in raised beds or containers. Lucky for me, kabocha squash grows great in containers. Just be sure to only plant 1 squash per container and give your squash vine enough room to sprawl.
Kabocha is a big plant with a deep root structure, so you’ll need a big pot. I’ve found that 10-gallon works best.
To fill my beds and containers, I use a combination of mushroom compost and potting mix. The pre-mixed Miracle Grow stuff you can get at most big box stores is too fluffy (and expensive), so I avoid it when I can. You should be able to find bulk mushroom compost from a local landscape company.
Growing Kabocha Squash on a Trellis
There are two ways to grow a kabocha – on a trellis or sprawling along the ground.
Trellising increases airflow and makes it easier to spot pests. Since high humidity and pest pressure are two main challenges when gardening in Florida, trellising is an excellent option.
To start, I use a trellis that is longer than it is tall – think of the vine as growing horizontally rather than vertically. I have a large rectangular garden bed that is surrounded by homemade garden fencing. I put my kabocha squash container on the outside of the bed and use the garden fencing as its trellis.
As my kabocha vine starts to grow, I gently guide it along the trellis. Over time, the vine hooks itself to the trellis by forming tendrils.
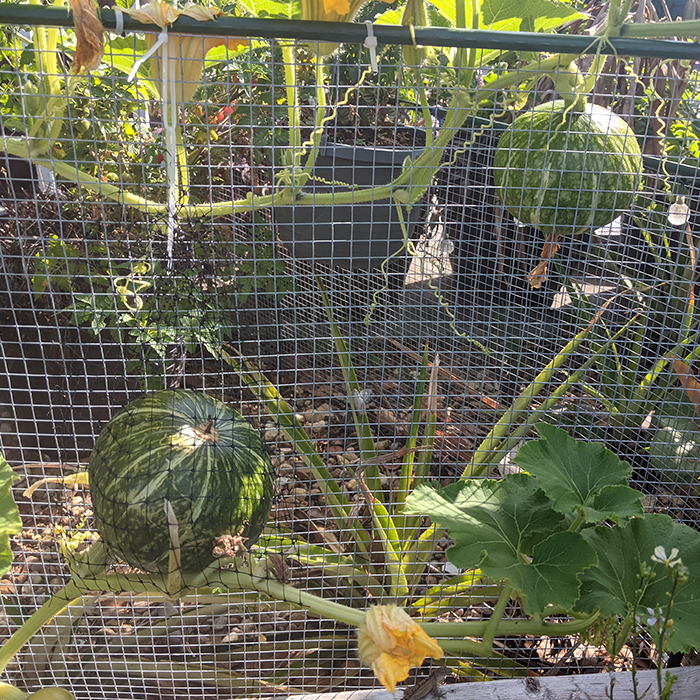
A kabocha squash vine is sturdy, but kabocha squash themselves are pretty heavy. When your squash starts to get bigger, you’ll want to sling them to the trellis to help take some of the weight off of the vine.
Bird netting makes the perfect sling. Cut a piece of the netting into a foot-long strip and tie each end to your trellis, about the width of your fruit. Once you attach the sling to the trellis, place your squash into the sling. As your squash grows, the netting will stretch to conform to the size of the fruit.
How to Hand Pollinate Your Kabocha Squash
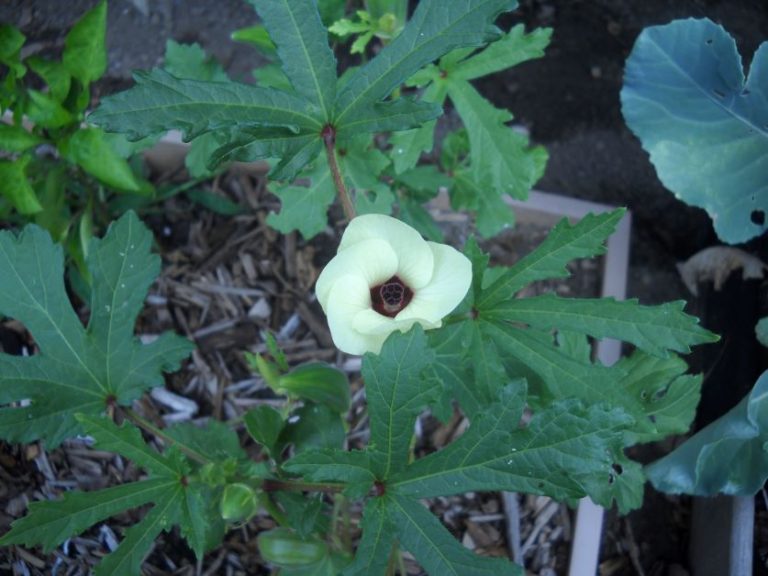
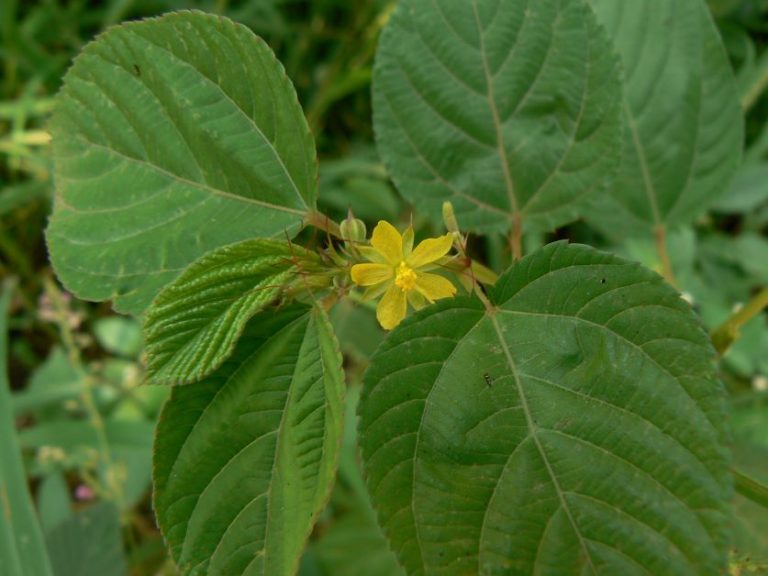
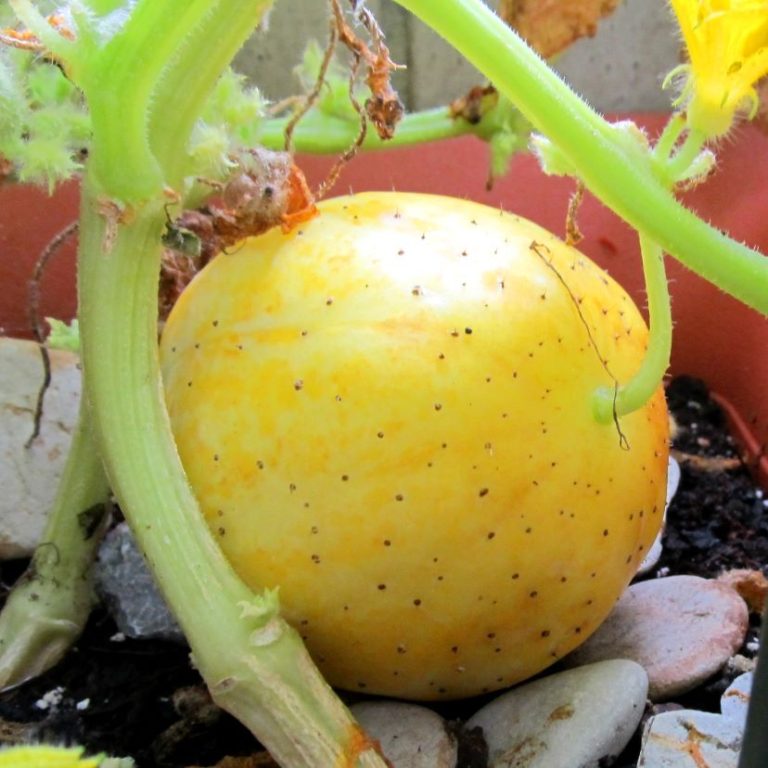
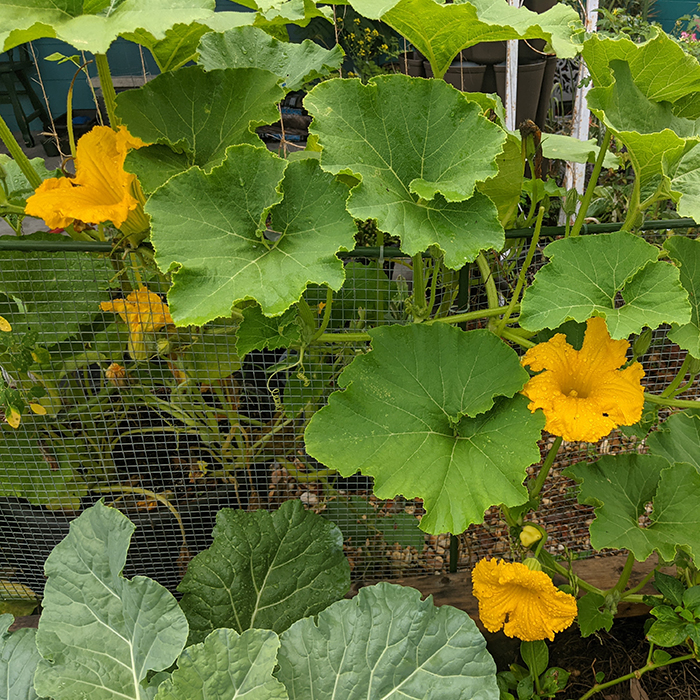
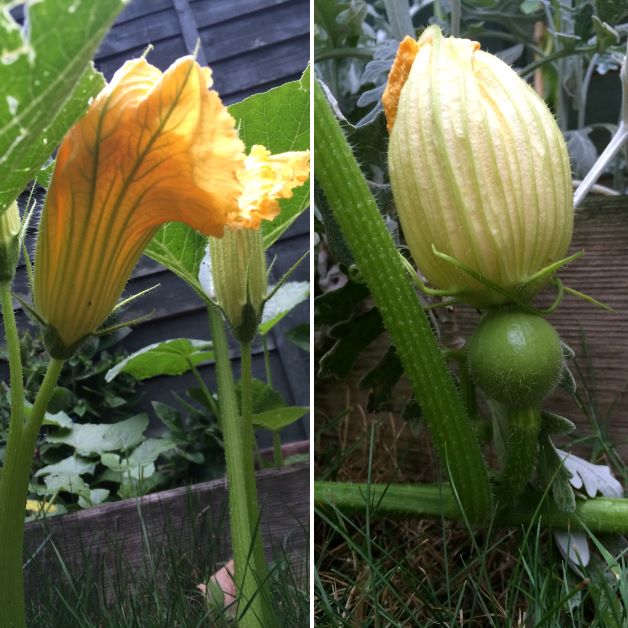
As your vine matures, it will start to flower. Squash flowers are big and yellow and are either male or female. It’s easy to tell the difference between a male and a female. The female flower will have a tiny fruit at the base where it connects to the vine and the males don’t.
At first, the vine will only put out male flowers but as time goes on, female flowers will form. Only the female flowers will produce squash, and only if they’re pollinated.
You can increase your chances of producing fruit by hand pollinating.
Take a small paintbrush and rub it on the inside of a male flower to pick up pollen. Then, gently dust the pollen on the inside of the female flower. Some people will also use an electric toothbrush in place of a paintbrush, but I’ve never found that to be necessary.
After a week or so, you can tell if your female flower was pollinated by looking at the small fruit at the base. If it looks weak and shriveled, it wasn’t fully pollinated and it won’t grow into a squash.

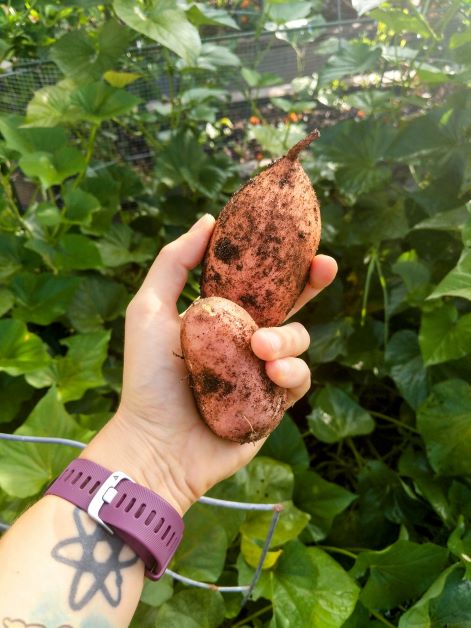
When to Harvest Kabocha Squash
Your Kabocha squash is ready to pick in about 50-55 days after the fruit forms. Knock on the squash – if it sounds hollow, your squash is ready. The stem should also be woody.
Cut the squash from the vine an inch or so above the start of the stem. Use a sharp knife so you don’t pull on the vine and damage it. Each vine should yield 3-5 squash.
Your kabocha squash needs to sit in a warmish spot for about a week before they’re ready to cook. This is called curing. You can cure them outside if the weather is warm and dry enough, or inside as long as the temperature is about 80-85F.
Kabocha Squash Troubleshooting
Fungal Disease
Powdery mildew and downy mildew are common diseases among all squash varieties. If dusty-looking white circles start forming on your leaves, you’ve got powdery mildew.
If you see small yellow and brown spots on your leaves, then you could have Downy Mildew.

Overhead watering is the main culprit behind most fungal diseases. Always water the base of your plant and not the leaves. Using a water wand can help you keep the water just where it needs to be. Proper pruning also increases airflow in between the leaves of your squash plant, which helps prevent mildew.
Fungal diseases can be treated with a DIY solution one part mouthwash to three parts water. Be careful to avoid new vine growth as the mouthwash solution can damage younger leaves.
You can also mix one tablespoon of baking soda and one teaspoon of non-detergent soap to one gallon of water for a less harsh solution.
If you don’t want to take the DIY route, organic copper fungicide can also be used for powdery mildew. It’s important to note, though, that copper fungicide works better as a prevention than it does as a cure. Most gardeners find the most success by treating their plants with copper fungicide at the start of the growing season before any fungal diseases have had a chance to form.
Kabocha squash pests
Vine Borers

Vine borers are one of the most devastating pests in the garden. A vine borer attack is usually a death sentence for a squash plant.
The vine borer lays dormant in the soil until they hatch from its cocoon. Once it hatches, it lay eggs along the stem of your plant. Once the eggs hatch, the larvae bore a hole into the stem of your plant and crawl inside.
Once the larvae are inside the stem, your options are limited. You can try to cut the portion out that houses the vine borer, stick the cut stem back into the ground, water it in, and hope it re-establishes…but I’ve never had this work for squash plants.
If you find yourself struggling with a vine borer problem, you can wrap aluminum foil around the base of your squash vines to stop the borers from getting in.
Squash Bugs
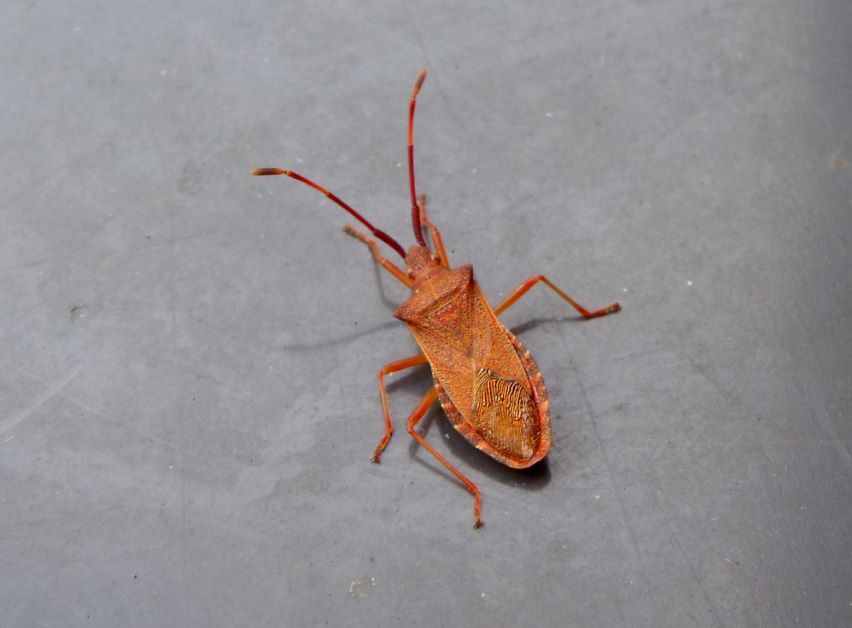
Squash bugs come in a wide range of colors, but most have the same shield-like shape. They’re a problem for most members of the Cucurbit family. Squash bugs pierce the leaves of your plants and suck out the sap, causing a nutrient deficiency. Signs of a squash bug infestation are wilting or brown spots on your leaves.
The best way to stop squash bugs is to inspect your plants and remove them by hand. Adults are hard to kill, so it’s best to target the eggs. Look under leaves and around the stems of your plants. If you see any eggs, crush them. You can also make a squash bug trap by laying pieces of cardboard down in your garden bed overnight. In the morning, you may find squash bugs hiding. If so, grab them and smash them.
How to Prepare Kabocha Squash

One of my favorite ways to prepare kabocha squash is baked in the oven.
Cut the squash in half, scoop out the seeds, sprinkle the insides with salt, pepper, granulated garlic, and add a tablespoon of butter. Cook the squash face up in the oven on a cookie sheet, at 425F for about 30 minutes. Finish them off by cooking them for an additional 20 minutes at 450F. The squash should be fork tender.
The seeds can also be baked like pumpkin seeds, and kabocha also makes great tempura or soup.